Kokedama (Japanese for moss ball) are so friggin adorable. I’ll show you how to make them in a few very easy steps.
Kokedama are related to bonsai except instead of a small pot, the plant is grown in a ball of soil surrounded by moss. And I don’t know why, but this is so magical and cute in a way only the Japanese can pull off.
Maybe I’m a little late to the party on these because it seems like they’re everywhere, but I knew as soon as I saw them I would be making some for my garden.
Traditionally you use clay to form a ball around the soil ball and hold it together before you cover it with moss. That sounded like a mess, and also like it wouldn’t turn out so pretty. I found someone who used cheesecloth instead, and I thought bingo. Great hack.
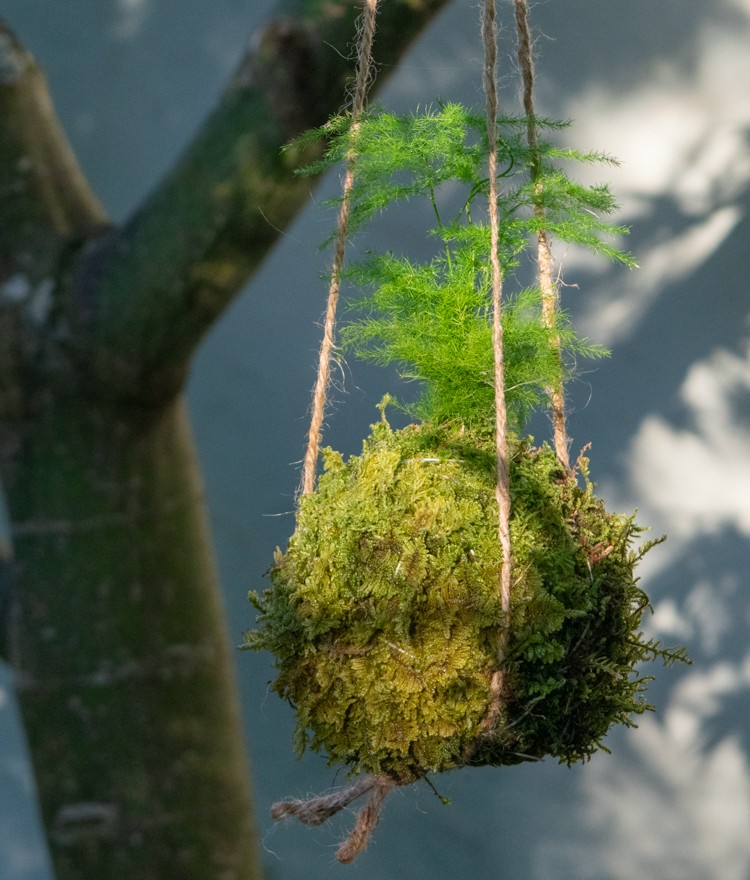
The key to a kokedama is balance, between the size of the moss ball and the size of the plant. You don’t want the ball to be too big and dominate, but if you have a larger plant, you don’t want the ball to look too small and ridiculous. So, balance.
This is really a judgment call, so whatever looks good to you. Phone a friend if you are struggling — fresh eyes always help. And remember, the plant is going to grow, so better to have the soil ball on the bigger side rather than the plant.
Supplies
- small 2–4 inch plants like ferns, tree seedlings, houseplants…
- bonsai potting soil or another well-draining potting soil (if you are using ferns, you can just use regular potting soil since they aren’t fussy about being wet)
- water
- a shallow bowl
- plate, old baking sheet, or something similar
- cheesecloth
- jute twine
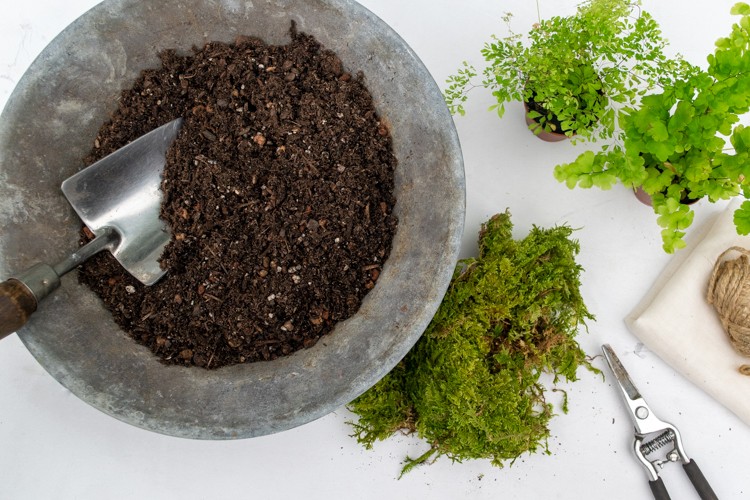
- live sheet moss
- scissors
- pruners
- fishing line
Time needed: 1 hour
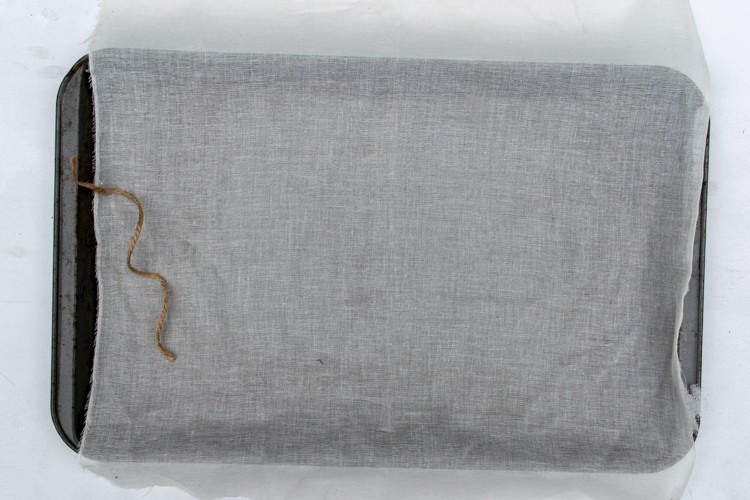
- Cut your cheesecloth
Cut one layer of the cheesecloth into a square measuring about 4 times the diameter you want your moss ball. So for a 5-inch diameter moss ball, you need a 20 inch square of cheesecloth. Lay it out on your plate or baking sheet, centered.
Cut a 6-inch piece of twine, and set it next to your cheesecloth.
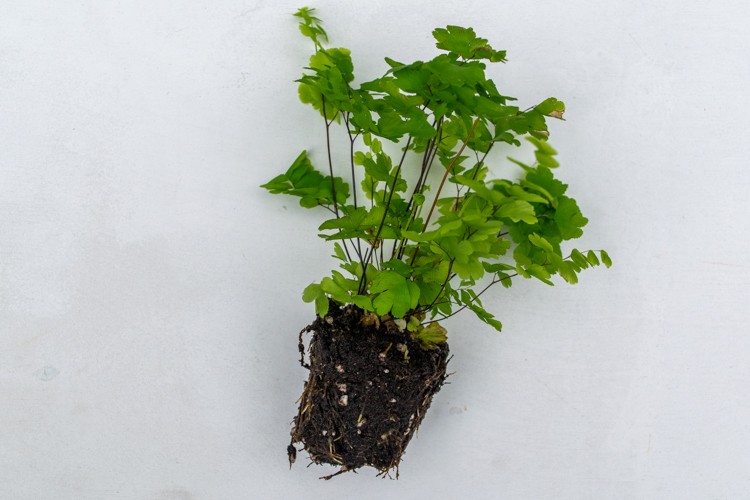
- Unpot your plant
Remove your plant from its pot and loosen the roots slightly. Set it aside.
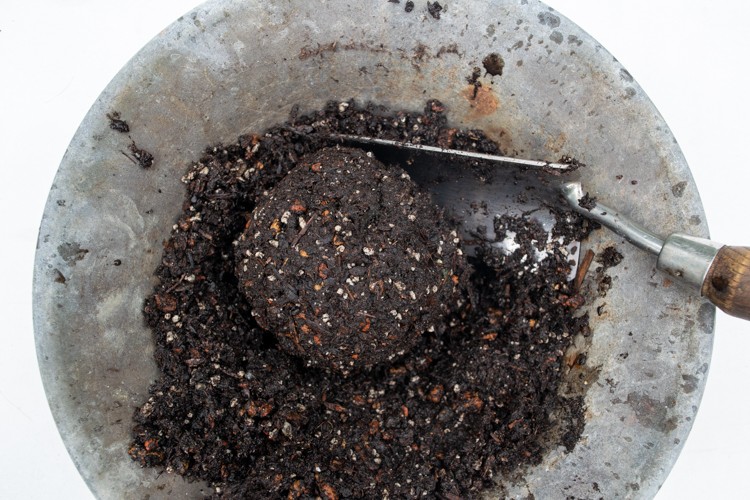
- Wet your potting soil
Using your shallow bowl, gradually mix some water into your potting soil so it starts to hold together into a ball. Form a ball roughly the size of your final moss ball.
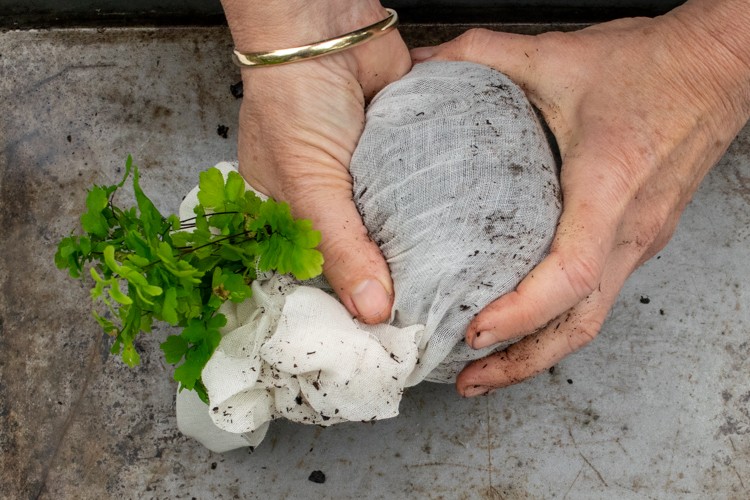
- Form soil ball around plant roots
Over your cheesecloth, break your soil ball roughly in half and sandwich your plant in between the two halves. If it falls apart, no worries. Just shape it back together as best you can and proceed.
Pull the cheesecloth up around your soil ball and shape it into a nice round shape. Gather it all up around the top and tie it together with the jute string. Be careful not to damage your plant. Trim off any extra cheesecloth around the top. - Secure your moss to your soil ball
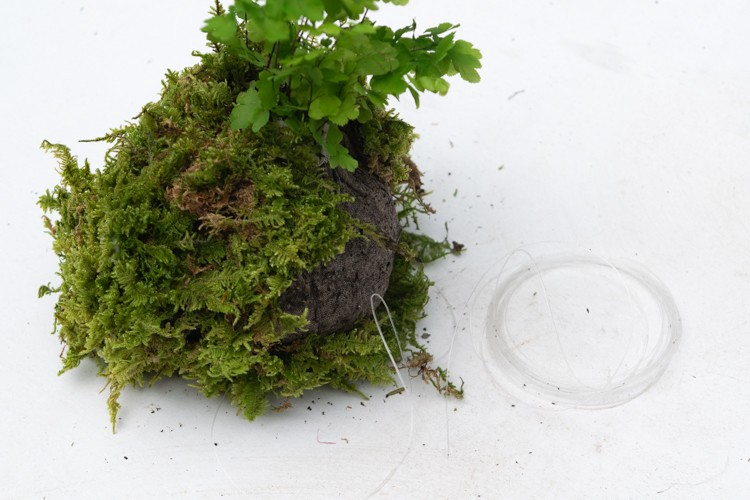
Cut 3 or 4 pieces of fishing line about 5–6 feet long.
Flatten out your moss and wrap/place pieces of it around your soil ball. If the sheets of moss are on the larger side, you might be able to wrap the whole ball in moss before you start securing it with fishing line. The moss sticks better if it is damp so you may need to spray it a bit with some water.
Once you have a good bit of your ball covered in moss, wrap the fishing line around your ball and secure it with a surgeon’s knot (like an overhand knot but you go around twice instead of once.) Then keep wrapping the line around the ball, filling in any gaps in the moss as you go, and making sure your ball is nice and round.
You can also use jute twine to wrap the ball — whatever look you prefer. I personally find the twine distracting from the moss and the plant.
When you run out of line, just tie it off with another surgeon’s knot. Keep wrapping your ball with fishing line or twine until the moss is well attached to the ball. Trim off any loose bits. - Hang your kokedama, if you like
Kokedama can be placed on a waterproof dish or tray, or hung up either inside or outside (depending on your weather). You can make a simple hanger by cutting 3 pieces of twine about 3 feet long, tying them together in a knot at one end, and setting your kokedama in the center of them. Tie the 3 pieces together again 6 to 12 inches above the top of your plant (or more, depending on the size of your plant), and then you can use the leftover length to attach it to a hook or branch or wherever.
- Taking care of your kokedama
Never allow your kokedama to dry out. Water your kokedama by setting it in a bowl of water and allowing it to soak up the water until it won’t take up anymore. Feed your kokedama in the spring and summer by adding a very small amount of liquid, balanced fertilizer to the water.
If you take care of your kokedama, they should last you for many years. I’d love to see pics of any that you make!
Please pin this post if you like it, and please join my email list!
If you like this garden DIY, check out how to make this Easy Living Air Plant Wreath!