
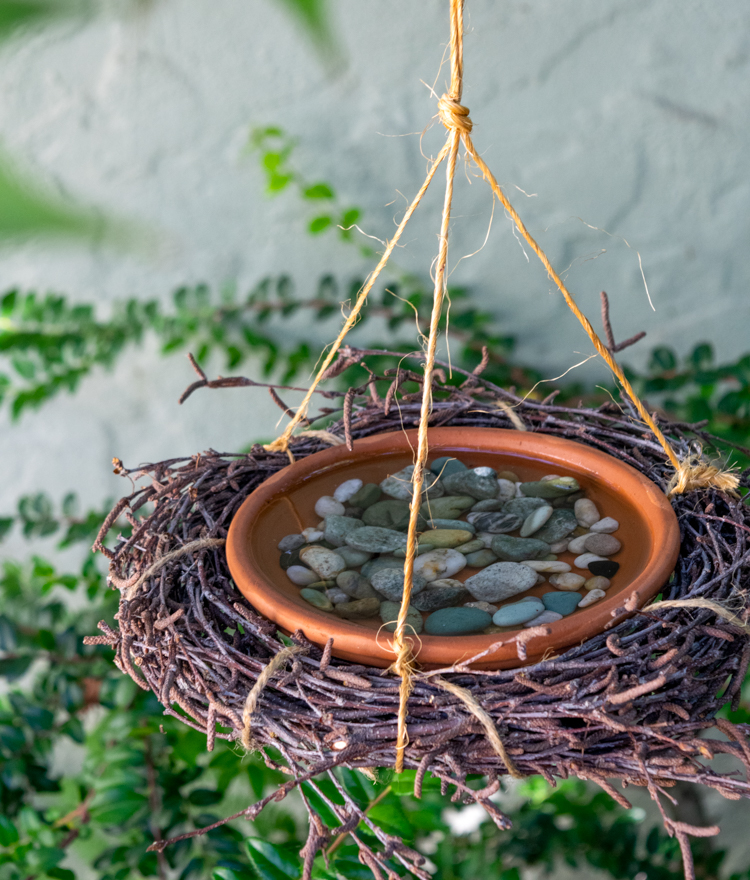
I decided we needed a birdbath asap, given that we have chickadees nesting in the backyard, and we are heading into our dry season. This one came together so fast — I already had everything I needed in the garage. You probably do, too, and if not, take a walk or ask your neighbors. I bet you can find what you need pretty close to home.
Supplies
- wreath jig or 10-inch diameter shallow bowl
- thin, flexible branches or woody vine (birch branches or grapevine is perfect)
- jute twine or 24-gauge copper wire
- a shallow, approximately 7-inch diameter dish
- handful of pebbles
Time needed: 30 minutes
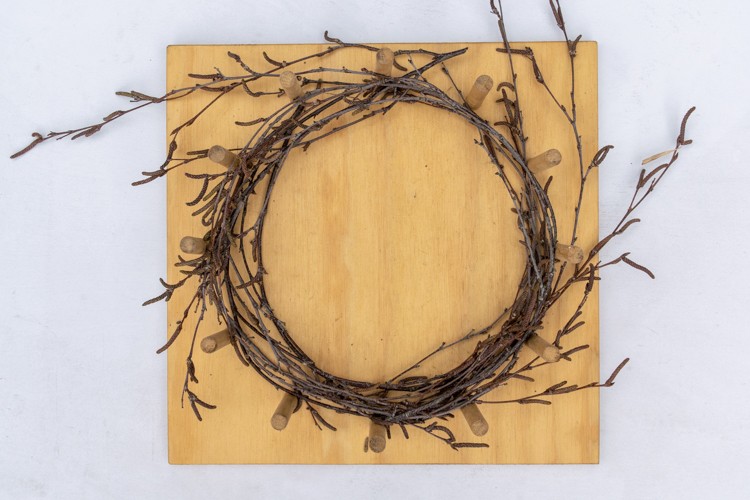
- Make your wreath
The first thing you need to do is make the wreath that the dish is going to sit in. You can follow along with the same technique I used for this Cherry Blossom Wreath. Use copper wire or jute twine or anything else you have around (floral wire?) to secure the branches or vines. I used a wreath jig to hold the branches in a circle, but you could also use a round bowl that’s roughly 10 inches across.
Before you start wrapping the wire or twine around the branches, set the dish inside it and make sure you have enough thickness to your wreath to support your dish. You don’t want to finish up your wreath only to realize you needed to make it thicker!
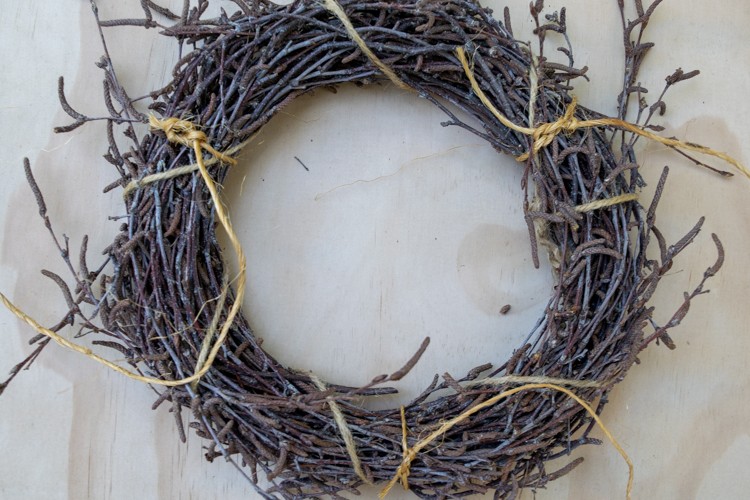
- Add the twine to hang the bath
Cut three lengths of twine or wire the same length. How long will depend on where and how you want to hang your birdbath, but probably at least 4 feet. Tie each piece to your wreath with a surgeon’s knot (wrap it through twice instead of just once), equally spaced around your circle.
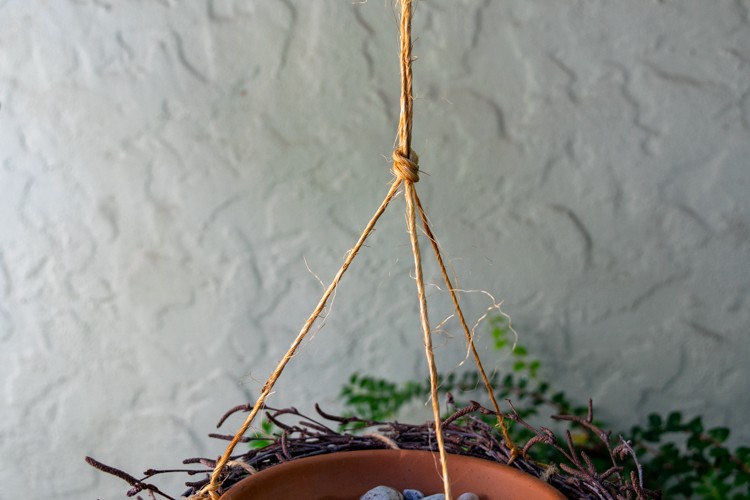
- Tie the three strands of twine together
Now you need to tie the three strands that are going to support your bath together. Where you tie them is up to you — it sort of depends on how far it is going to hang below whatever you are hanging it from (a branch, a hook, etc.). I had mine about 18 inches from the wreath but then realized that was too much since it only hangs about 16 inches from the branch.
Also, in order for it to hang flat, you need to make sure that the knot is centered directly over the center of the wreath. This took a little bit of trial and error, so don’t be discouraged if you have to fudge with it a bit to get it even. Before you hang it up, do a little test run with the dish and a little water. If your strings aren’t even, you’ll be able to tell by the water level right away. - Hang up your bath
Place the dish in the wreath, and hang up your birdbath. I just tied the twine directly onto a branch, but you could create a loop and hang it from a hook or anything really.
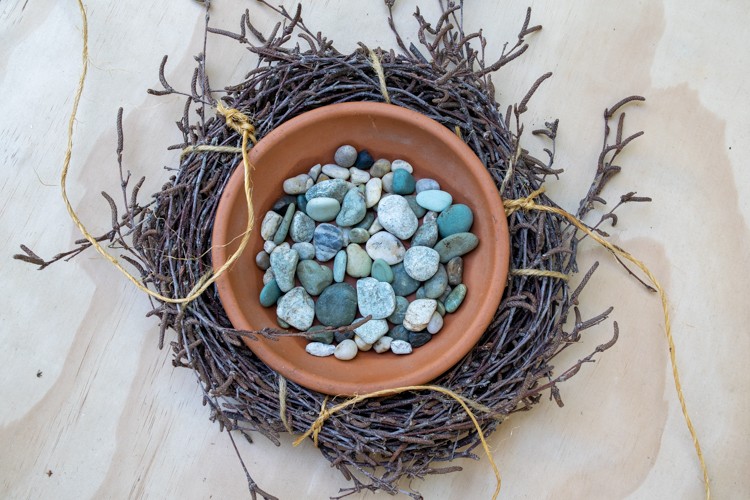
- Add the pebbles and the water
Put some pebbles in your dish and fill it up with fresh water. The pebbles make the bottom less slippery for the birdies, and allows them to choose what depth of water they want. Different species like different depths, apparently.
- Keep it clean
Be sure to keep your birdbath clean and free from debris and algae, and change the water at least a couple of times a week (or more in the hot summer months).
I hope you and your backyard birdies enjoy your new birdbath. 🙂
Please pin this post if you like it, and please join my email list!
I am really enjoying your site full of interesting topics, easy to follow . Myself I do enjoy browsing and doing different things.
Thank you for your help and advice.