
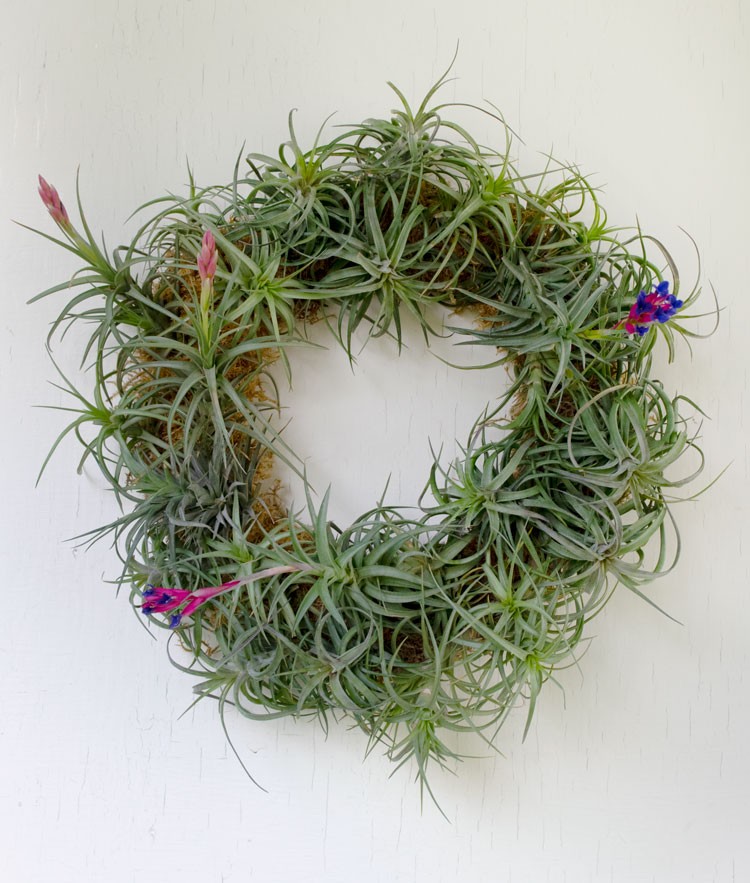
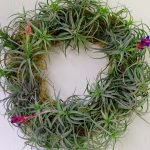
This is a super simple version of an air plant wreath that will bloom and grow for years if you take care of it. I love a seasonless wreath with staying power. Winner Winner Chicken Dinner.
I was at our local Joann the other day and saw a bag for sale that said Crazy Plant Lady is the new Crazy Cat Lady. Ummm… so that hits really close to home, but as I approach the mid-Century mark at breakneck speed, I find I don’t care about letting my freak flag fly pretty darn high. Hey, it’s not like my house smells like cat pee!
In that vein, one of my favorite crazy plants is these little babies, Tillandsia, especially mashed up with my wreath obsession. And I love anything that I can fuss over with one of these beautiful plant misters.
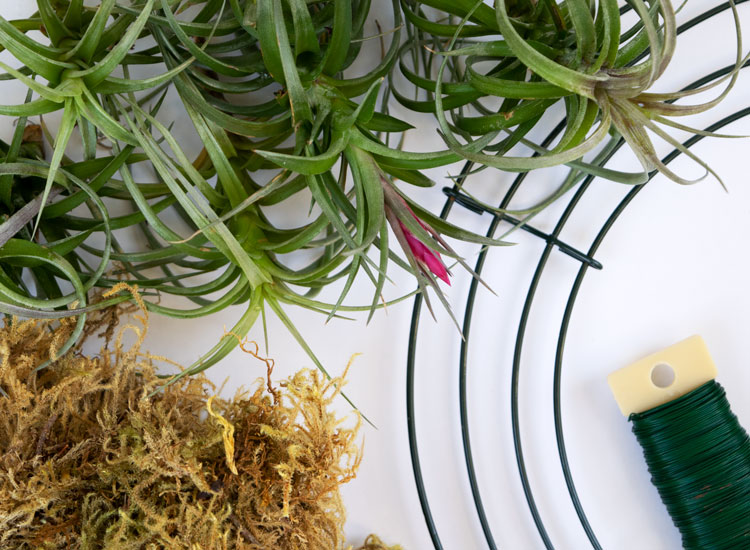
Supplies
- 12-inch wreath form
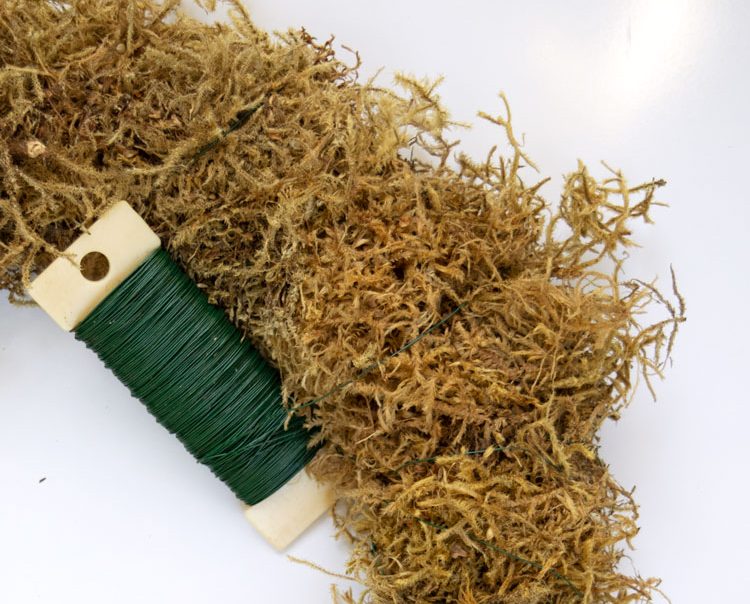
- Dried Sphagnum or Spanish Moss
- Green Floral Wire, 24 gauge
- Tillandsia Air Plants (at least 25–30)
- Garden Clippers
- Wire cutters
Here’s a video showing how to make a wreath, or you can read the steps below:
Time needed: 1 hour
Air Plant Wreath Steps
- Trim and clean up your air plants or tillandsia
Make sure that your air plants all look good. Trim off any dead tips or leaves or spent flowers, and separate any pups that are large enough from their mother. (Pups need to be 1/3 to 1/2 the size of the mother before you break them apart.)
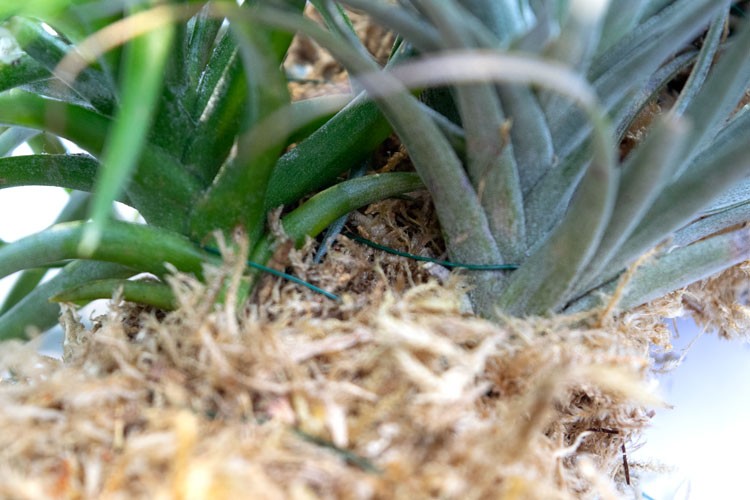
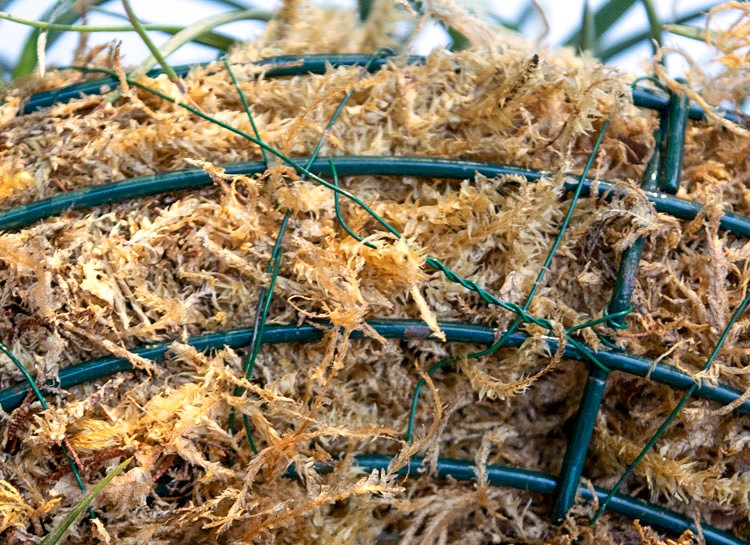
- Attach the moss to the wreath frame
Begin by attaching the wire to the frame by twisting it around itself a few times. Then take handfuls of the moss and attach it to the frame by wrapping the wire around and around, leaving a couple of inches between the wraps.

- Attach the plants to the wreath
Start attaching your air plants by wrapping the wire over a couple of the lowest leaves. You need to kind of weave the wire around the leaves to secure it in place. They should all face in the same direction, so decide if you want them to go clockwise or counterclockwise.
- Decide where to place large or blooming plants
If you have some that are especially large or blooming decide where you want to place those before you get started. Hopefully, you have a nice odd number of these standouts, like three or five, but if you don’t group two of them together. Unless you have two, in which case, do the best you can, but don’t space them evenly on either side.
Keep attaching the plants to the wreath form. I like to mix up the sizes somewhat randomly, and also place some more to the inside, some to the outside, two smaller ones next to each other… This is the fun part, so whatever sparks joy for you! - Finish up by wrapping the wire around the back
When you have finished attaching your plants, take the wire to the back of the wreath, and cut it leaving about 3 inches. Wrap the wire around the back of the form and then around itself to secure it.
Enjoy! Your wreath will look good for years to come. Mist it several times a week with some air plant food, and give it bright indirect light. I leave mine outdoors year-round in coastal California, on a covered porch.
If you are looking for more DIYs for your garden, check out this post on how to make Japanese Kokedama Moss Balls.

♥️ 👍 I very much enjoyed your video! Although I only have 1 air plant at the present time,I am trying to learn all that I can, and didn’t realize there was a female and male plant!…Just wonder how you can tell! Looking forward to learning more from you!…Thank You!!