
I have always found these cutout silhouettes charming — something about their graphic starkness along with their individuality. When done well they really do capture the personality.
Typically we make silhouettes of children, but of course, you can also do a dog or other pet. They just might not be as cooperative as models. I don’t know though — depends on the kid, and the dog… I’d love to see one of a fish or a bird!
If you’ve ever seen someone make a cutout silhouette with a live model, it’s very impressive. It’s a pretty unforgiving medium. But you don’t have to have that level of skill to make one! I figured out a way to make them from photographs.
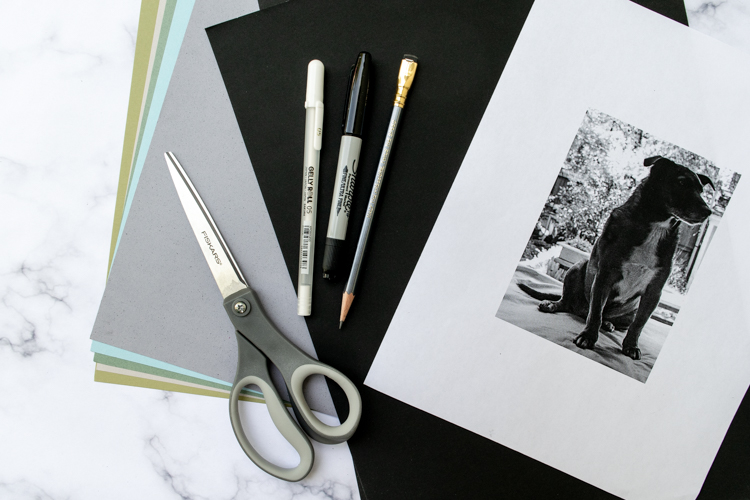
Supplies
- a camera (a smartphone camera will work)
- photo-editing software (VSCO, pixlr, Photoshop, Lightroom…)
- printer
- pencil
- fine tip black marker
- white gel pen
- craft/paper scissors
- micro-tip scissors
- silhouette paper
- removable scotch tape
- archival (acid-free) cardstock
- scrapbooking tape or acid-free or photo gluestick
Time needed: 1 hour
How to make a cutout silhouette from a photograph
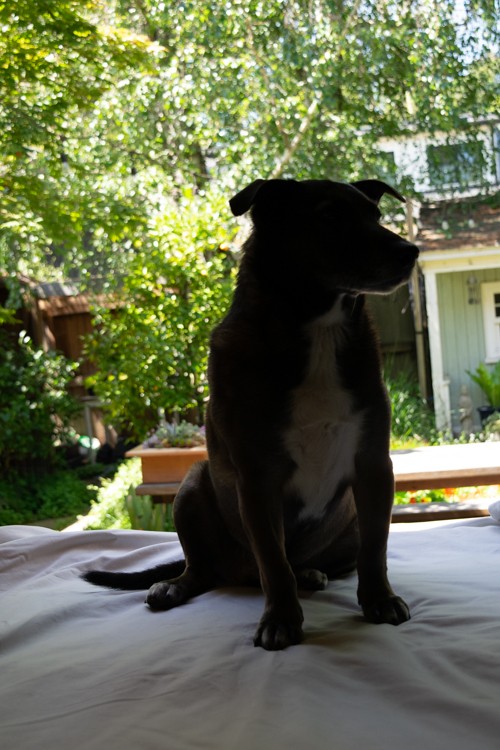
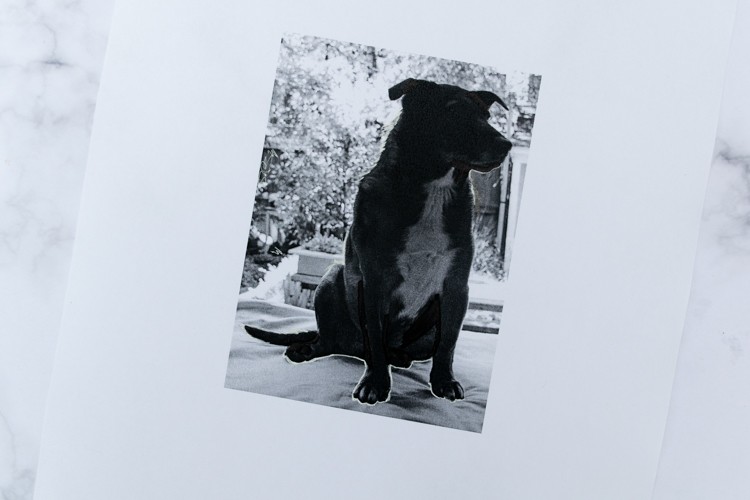
- Shoot your subject
Take a backlit photo of your subject. Try to have the background as light as possible, with as little detail as possible. It’ll make it easier to see their outline.
Some tips on capturing your dog or pet:
• Take a lot of shots and move around while you shoot. A subtle change in the outline of an ear or the tail can make a huge difference in capturing individuals and personalities.
• Enlist a helper. It’s hard to get them to turn their head to the side when you’re in front of them!
• Experiment with different positions: sitting, standing, quarter-turn profile, full profile. Unlike with humans, you just don’t know what is going to have that spark.
• Shoot on a light background with your subject backlit. A white sheet in an exterior doorway on a sunny day works well for a dog or cat.
• Channel your inner William Wegman and hope that your pet is as game as Fay Ray!
Some tips for shooting humans:
• Adjust the hairstyle so it will be easy to cut out. Ponytails are hard because of the negative space between the neck and hair.
• Make sure you have a good profile of their face, and they are truly turned 90 degrees from you so their back shoulder is hidden.
• People are easy to shoot inside in front of a brightly lit window.
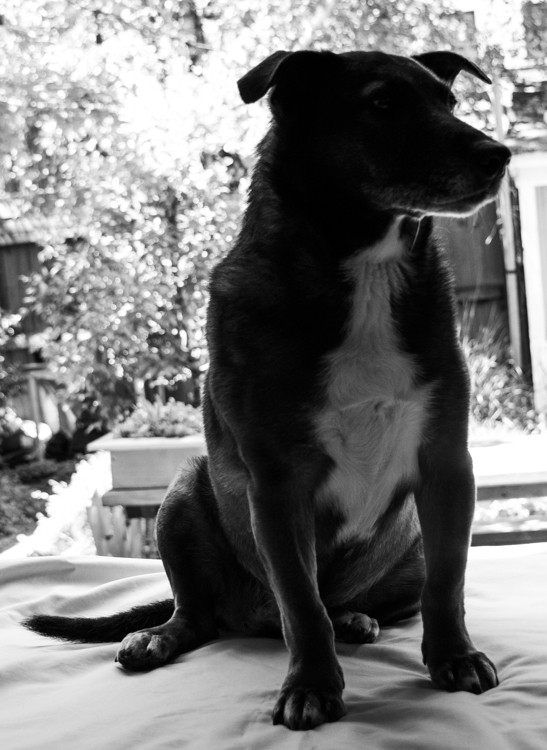
- Edit your photo*
First crop out any background so you’re just left with your subject.
Then make your image black and white, and adjust the contrast and brightness (and any other settings you have available to you) so you have a nice dark outline of your subject on a light background.
*I have used Photoshop for years but found pixlr very easy to use, and the app VSCO can do all of these adjustments on your smartphone as well. - Print out your photo
Print out your photo at the scale you want your final cutout. If the final piece is going to be 5 by 7 inches, your cutout should be about 4–5 inches on its longest dimension. So at this stage you need to decide the dimensions of your final piece.
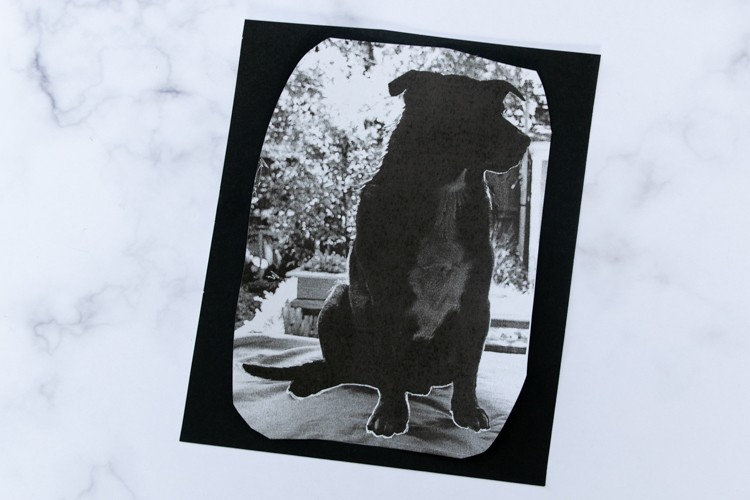
- Touch up your printout
Use your white gel pen and your fine-tip black marker to simplify and adjust the outline to your liking. Sometimes it helps to start sketching with a pencil. I simplified the tail and outlined the paws so I would know where to cut, and also sketched in some fur detail.
- Copy your touched-up photo
Make a copy of your printout. That way if you don’t like your first try, you don’t have to redo your sketch, you can just make another copy and try again.
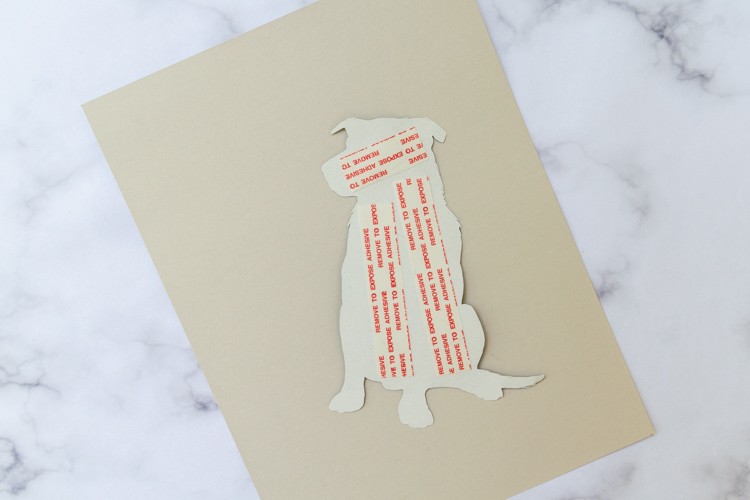
- Tape your sketch to the silhouette paper
Roughly cut out your sketch from the printout, and cut a piece of silhouette paper approximately the same size. Use the removable tape to tape your sketch to the silhouette paper. Make sure the tape is under your subject (the black part of your sketch) so that it stays attached when you start cutting away the paper. (Be sure to do a little test with the tape: if the tape leaves a mark on the silho paper, tape your sketch to the white side of the paper, and your silho cutout will just be the reverse of your original.)
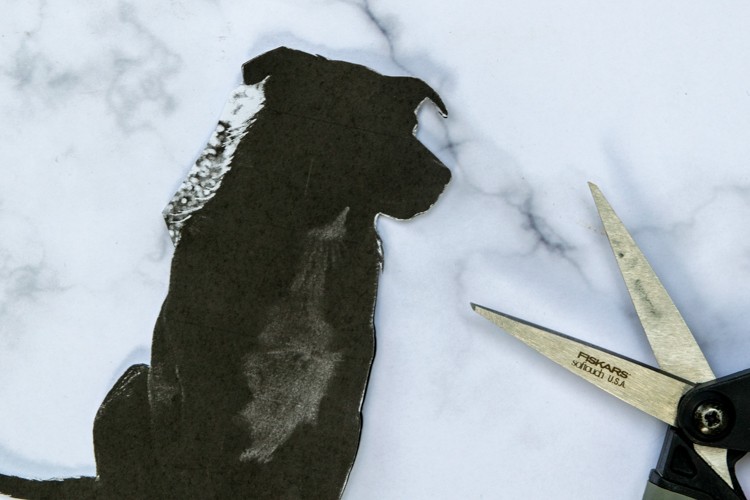
- Cut out your silhouette
Some tips for success:
• Cut over a light-colored surface so you can see the outline more clearly.
• Spring-loaded microtip scissors are the bomb for this kind of detailed cutting!
• Use long cuts as much as possible (when it makes sense).
• Sometimes it helps to lift up the sketch layer and peak at the silho paper layer.
• Don’t worry about tiny details in your first go-round. You can go back in and touch up and add once you have the basic outline done. Also, if you make a mistake early on, you won’t have invested as much time in your attempt and can move on quickly. It’s pretty rare for me to be happy with my first try.
• If you are cutting fur, cut out the general outline and then go back and do the tiny snips at the end. The same goes for eyelashes.
• If you are doing a human, pay particular attention to getting the facial outline correct. We as humans are very attuned to facial features and we notice when something is even slightly off.
• Sometimes it’s easier to flip it over and cut from the backside.
• Once you have the outline cut out with most of the detail, take the sketch layer off and fix any wonky bits and touch up the tiny details. - Trim your mounting paper and attach your cutout
Trim your mounting paper to 5 by 7 inches, or to whatever size you have chosen. Carefully put the tape or glue on the back of your silhouette cutout. Since you are going to put this under glass, you don’t need to put any tape or glue around the edges or thin parts.
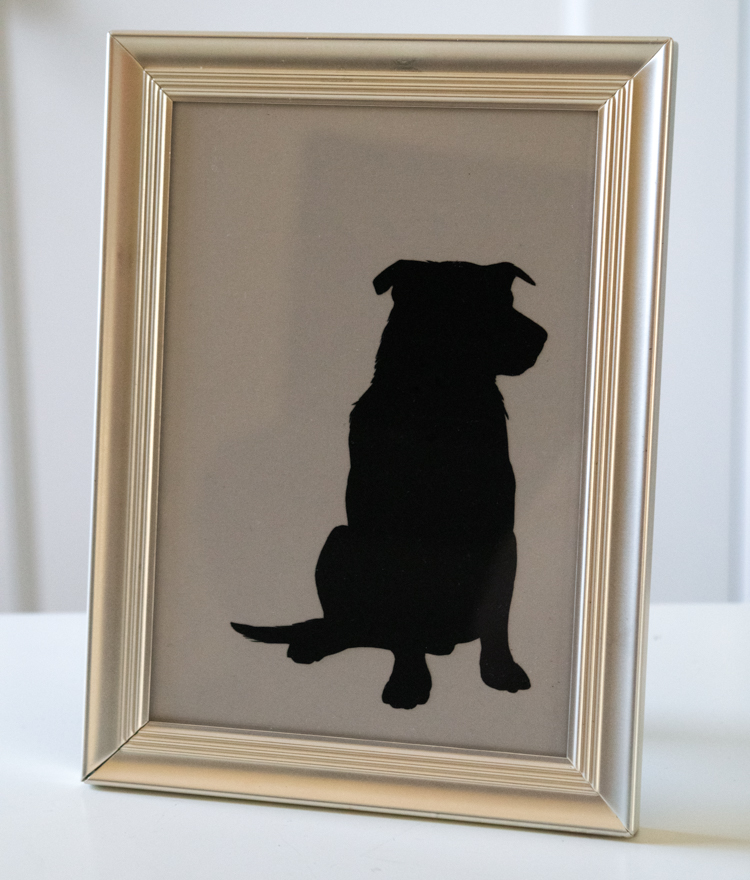
- Frame your silhouette
Put your work of art into a beautiful frame!
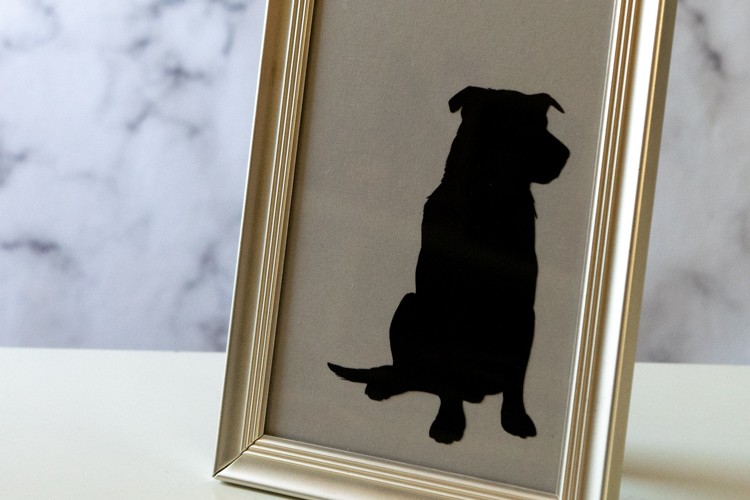
I think silhouettes are a timeless way to capture a loved one, and for that reason, they also make a great gift
Please pin this post if you like it, and please join my email list!
