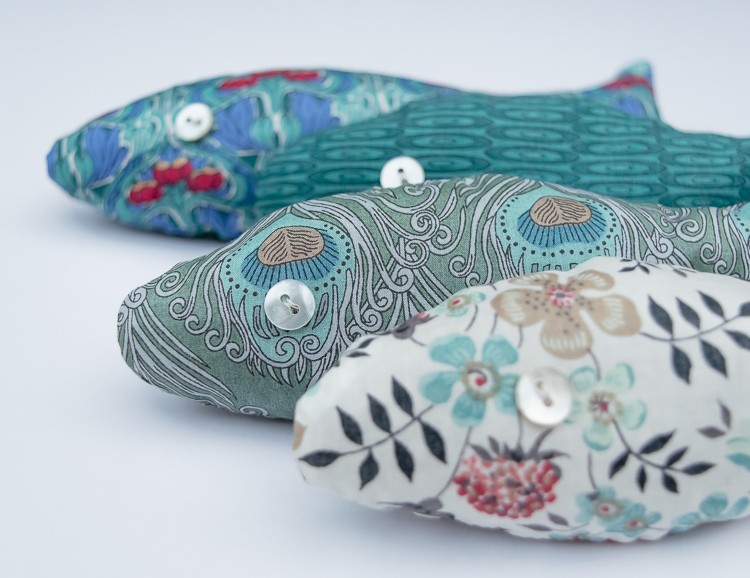
My mother and grandmother always had sachets or lovely boxed bars of soap in their drawers. It’s a great way to keep things smelling fresh in a low-key way. Follow this sewing tutorial and I’ll show you how to make lavender sachets in the shape of little fish to put in your drawers!
Liberty sells these cute fish sachets in their stunning prints, and predictably I immediately thought “I’ll just make those!” Turns out, it was much harder than I thought it would be to get that cute fish profile! The first one was kind of torpedo-like… then they got too pointy, too chunky… I tweaked and tweaked that pattern!
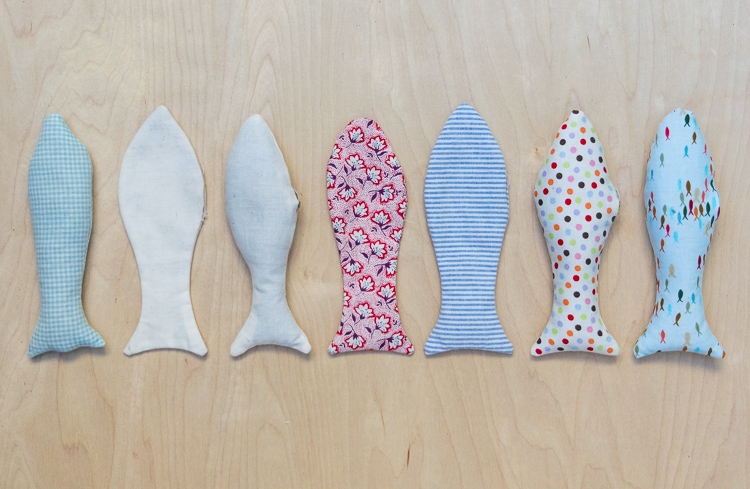
Of course, you don’t have to use Liberty fabric, any lightweight cotton will do, and it’s a great way to use up scraps. And they make great hostess holiday gifts — they sew up in no time, and cost next to nothing to make.

Lavender Sachet Supplies
- lightweight cotton fabric, at least 8 x 8 inches (20 x 20 cm)
- thread
- dried lavender (about 1 oz./50g per fish, or 3/4 cup)
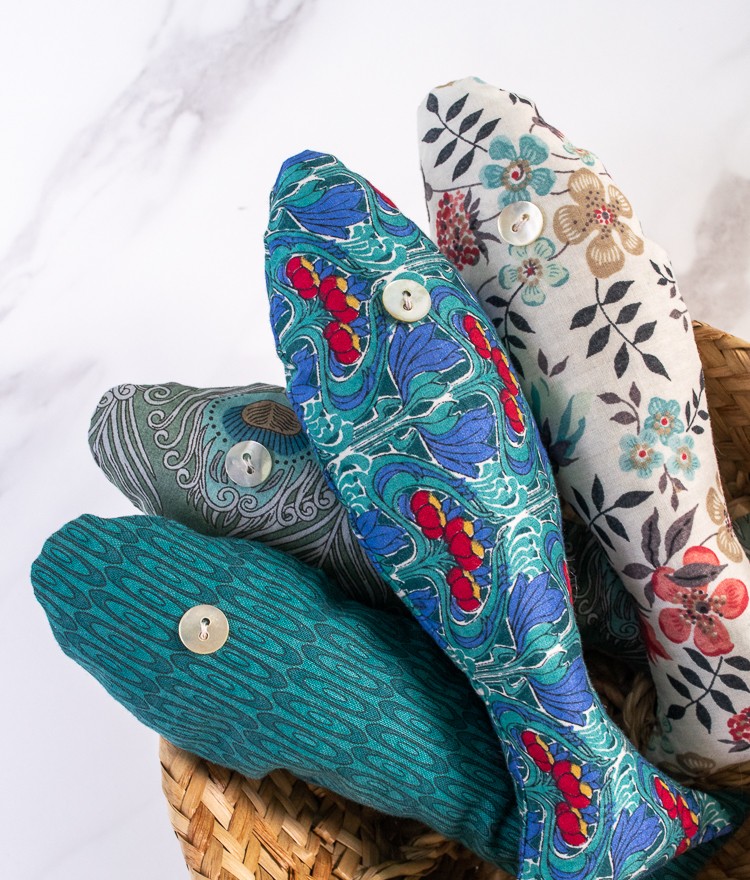
- small button for the eye (I used these)
- fish pattern PDF
- dressmaking shears
- small sharp scissors
- Dritz Wax-Free Tracing Paper
- funnel with a 1/2 inch spout
- straight pins
- sewing needle
- iron
- Purple Thang, or similar tool
Sachet Instructions
- Download the pattern
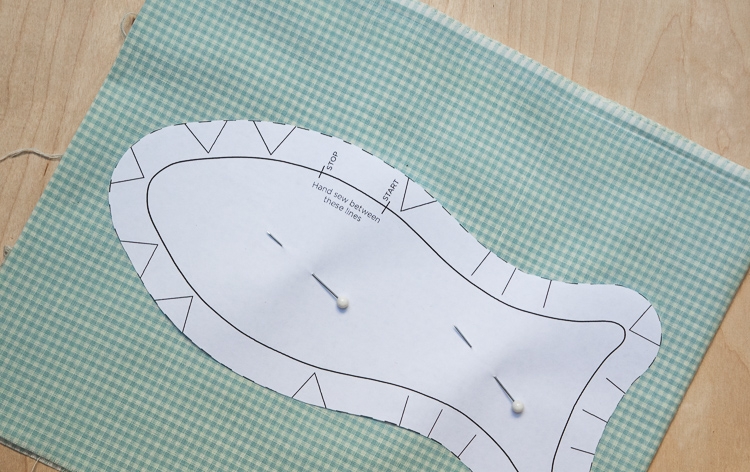
Download the pattern and print it out at 100%. Using your shears trim the pattern along the outside dashed line.
- Press the fabric and trim to pattern
Press your fabric and place the right sides together. Pin the pattern to the fabric and trim the fabric to the pattern with your shears.

- Trace the pattern onto the fabric
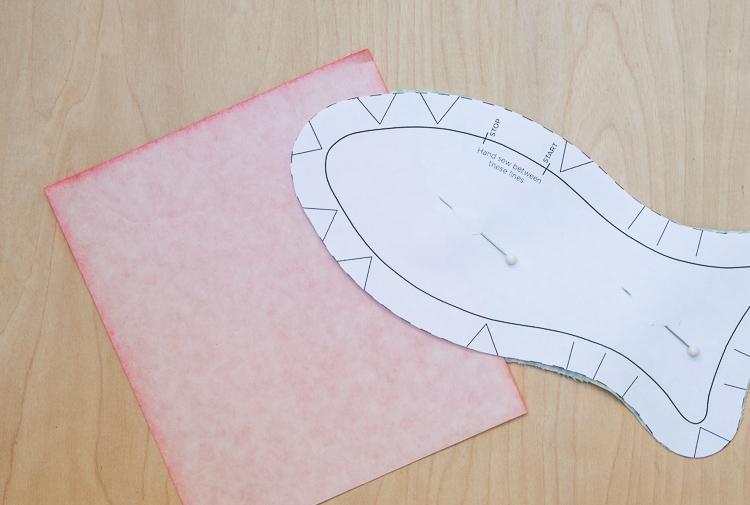
Slip a sheet of transfer paper between the pattern and the fabric, with the colored side facing the fabric, and trace the solid line with a pencil, including the start and stop marks and the other markings.
Make sure you are using a color that will show up on your fabric! And you may need to adjust the pins to fit the tracing paper everywhere you need to. Just be careful not to shift the fabric pieces.
Keep tracing until you can see the line clearly on your fabric.
- Remove pattern
Unpin the pattern from the fabric, and carefully repin your cut fabric pieces together without shifting them.
- Sew along the marked line
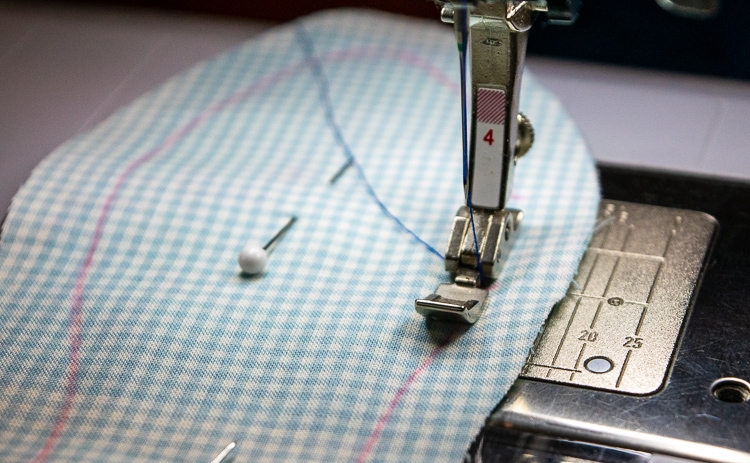
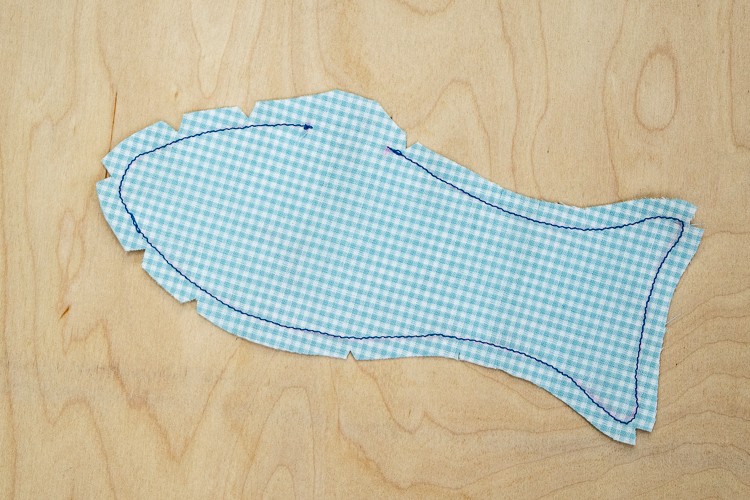
Sew your two pieces together along the marked line, backstitching at the start and stop marks. Leave an inch gap as marked, so you can turn your fish right side out and fill it with lavender. Go slowly around the nose and tail!
*Tip: I like to use my zipper presser foot so I can see better where the needle is going, but maybe you are a complete boss and can just use the basic reverse-pattern foot.
- Cut the notches and slits and trim
Cut the notches and slits in the seam allowance using small, sharp scissors, as marked on the pattern. Be careful not to cut into the seam. Trim the seam allowance to 1/4 inch.

- Turn your fish right side out and press
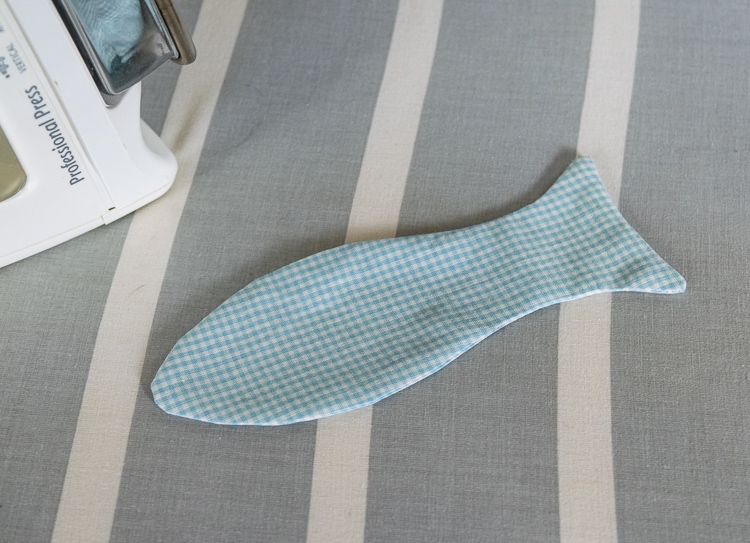
Turn your fish right side out through the hole in the seam. Use a tool like the Purple Thang to poke out the tail and the nose. Press the seams flat.

- Fill your fish with dried lavender
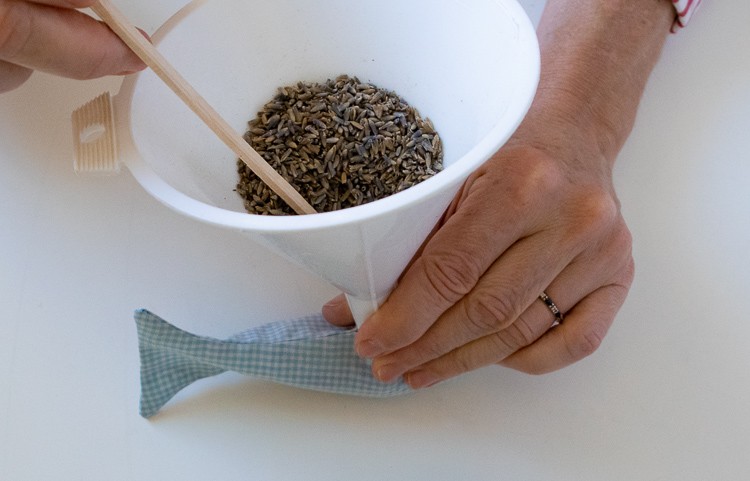
Use the funnel to fill your fish with the dried lavender. You’ll want to pack it in pretty well, so your fish isn’t floppy and has a nice shape. I used a chopstick but anything similar would work.

- Sew the hole closed
Hand sew the hole closed using a running stitch. I did another pass backward just to make sure the lavender wouldn’t pop out.
- Add the button eye
Sew the button eye onto your fish. I only put an eye on one side, but maybe I’m lazy. One eye? Two eyes? You do you.

Enjoy your adorable and sweet-smelling fish!
If you liked this sewing project, check out my tutorial on how to make a waterproof makeup bag.

Love these. I lived on a fish hatchery for 35 years and grow lavender! This is so me! Thanks