
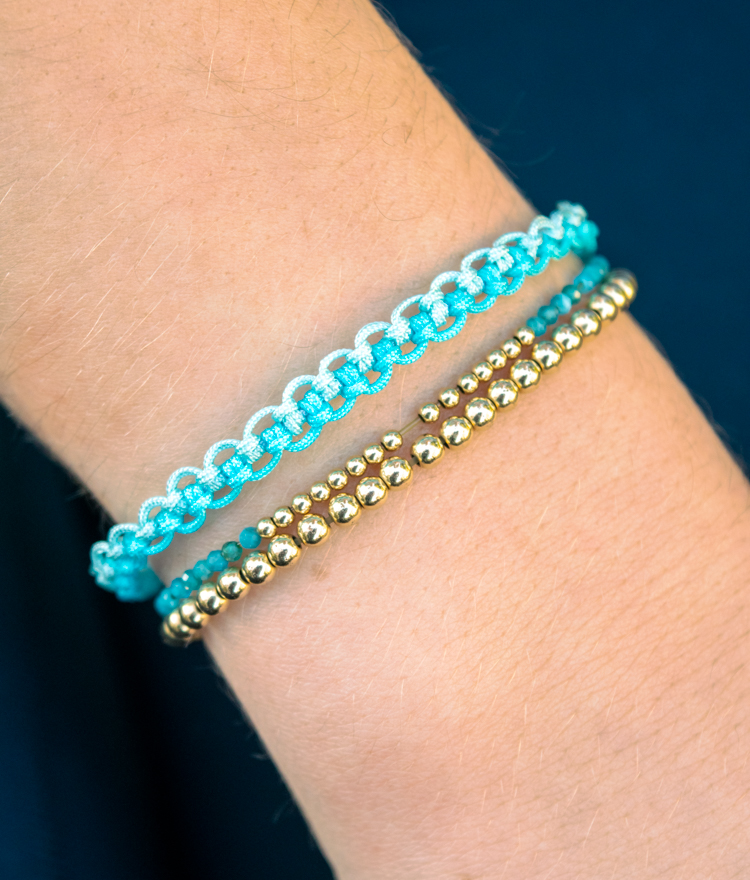
This simple friendship bracelet pattern features the lark’s head knot, one of the fundamental macrame knots. In mythology and literature, larks are associated with the morning and rebirth, making this bracelet perfect for spring.
You can change up this pattern by using all one color for the knots, or add a pop of color by using a bright, complementary color for the clasp.
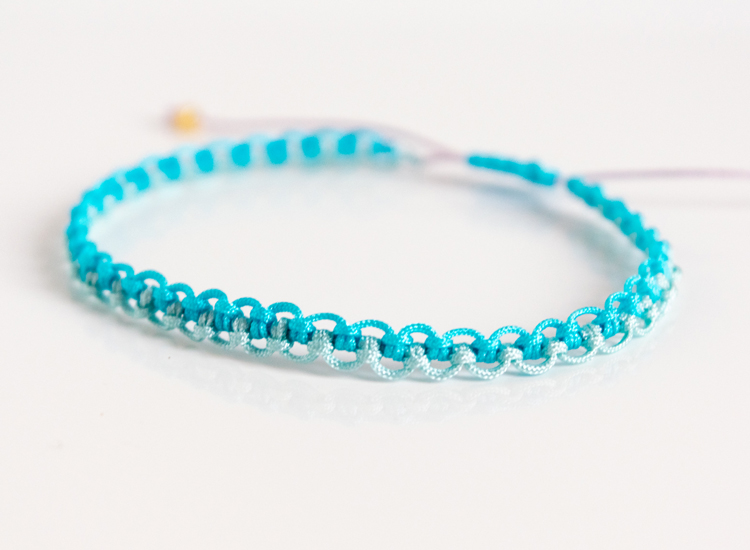
It might take you a minute to figure out the tension of your knots so the loops between them are nice and even. Just go slow at the start until you get a feel for it.
If you enjoy making macrame jewelry, check out my Macramé Beaded Anklet tutorial, and you can find all of my macrame patterns here.
Bracelet Supplies
- 1 18-inch (45 cm) piece of 0.5mm nylon Chinese knotting cord (or cord of your choice)
- 2 40-inch (100 cm) piece of same cord (these are your knotting cords—you can use two colors like me or one color)
- 1 12-inch (30 cm) piece of same cord (for the clasp)
- 2 size 8/0 seed beads (optional)
- clipboard, macrame board, or similar
- straight pins, binder clips
- masking or washi tape
- scissors and lighter, or a thread burner
- big eye needle (optional)
Time needed: 1 hour
Lark’s Head Bracelet — Step by Step Instructions
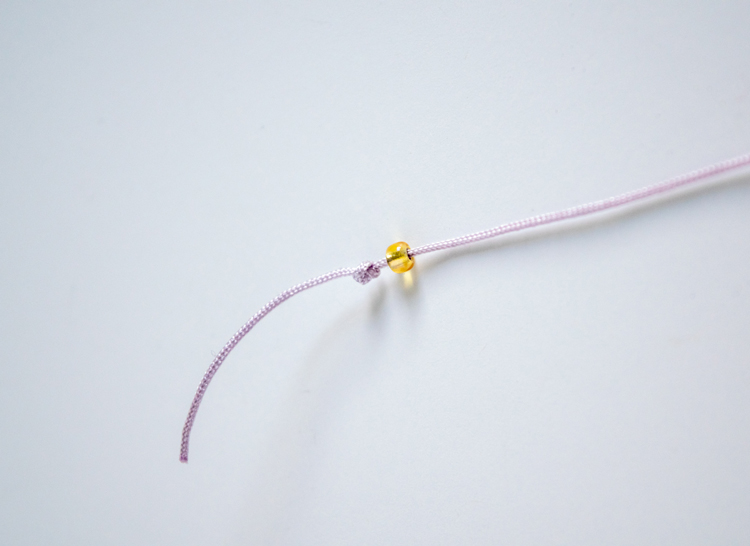
- Tie a surgeon’s knot
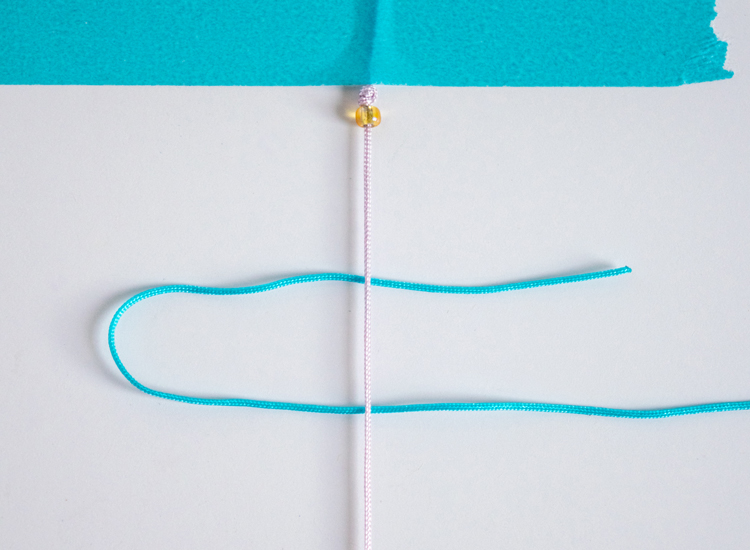
Tie a surgeon’s knot (wrap the cord through twice instead of once) near one end of the 18-inch cord.

- Add a bead
Thread a bead on to the same cord and slide it down to the knot you just made. If you have trouble getting it on, try catching just the tip of your cord with a big eye needle and sliding the bead on that way.
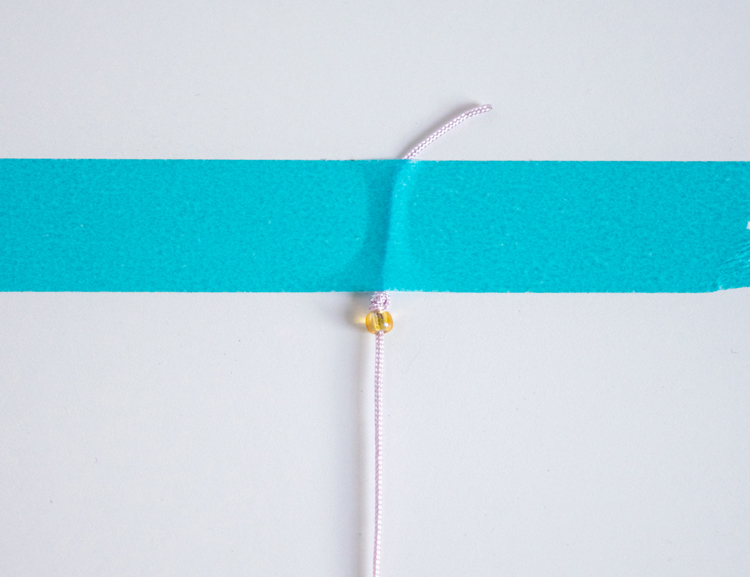
- Attach your cord to a solid surface
Attach the knotted/beaded end of this cord to the top of your clipboard or macrame board. You can use pins, binder clips, tape — whatever works for what you are using. Do the same with the other end at the bottom so your cord is taut. This is your core cord.
- Adding the first cord
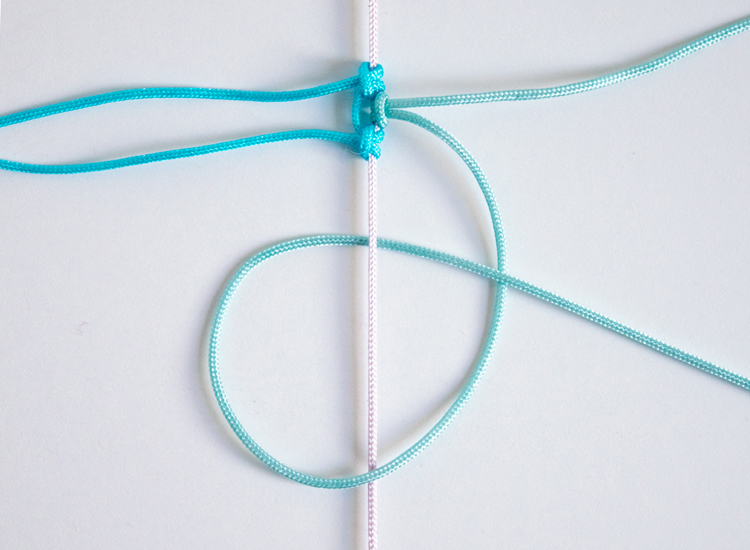
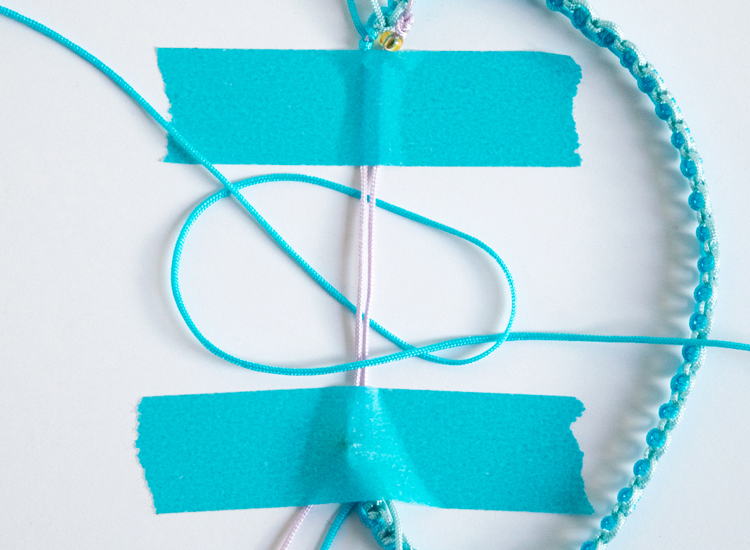
Make a fold in one of your 40-inch cords a few inches from the end. Place this loop under your core cord with the short end on top, about two inches down from your knot in Step 1.
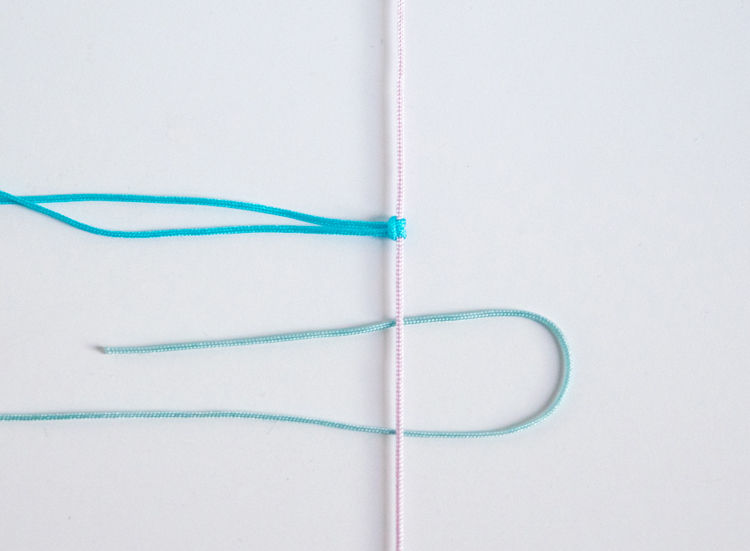
- Adding the first cord, step two
Pull both ends of the cord over your core cord and through this loop, and tighten the knot.
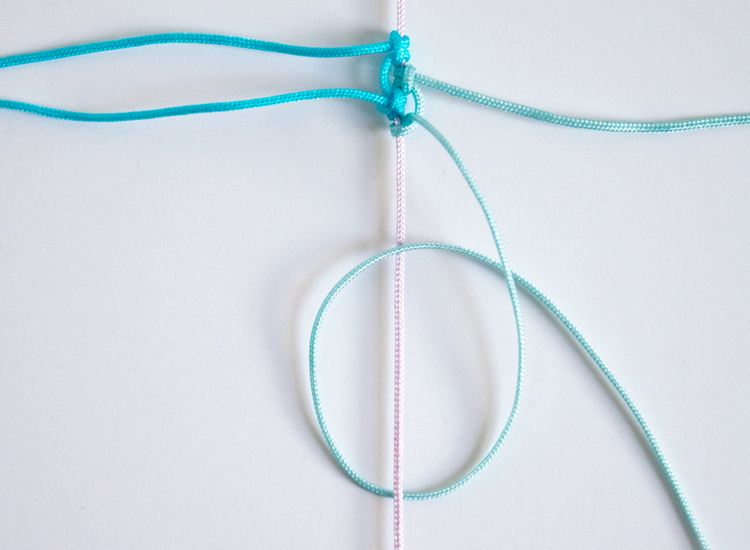
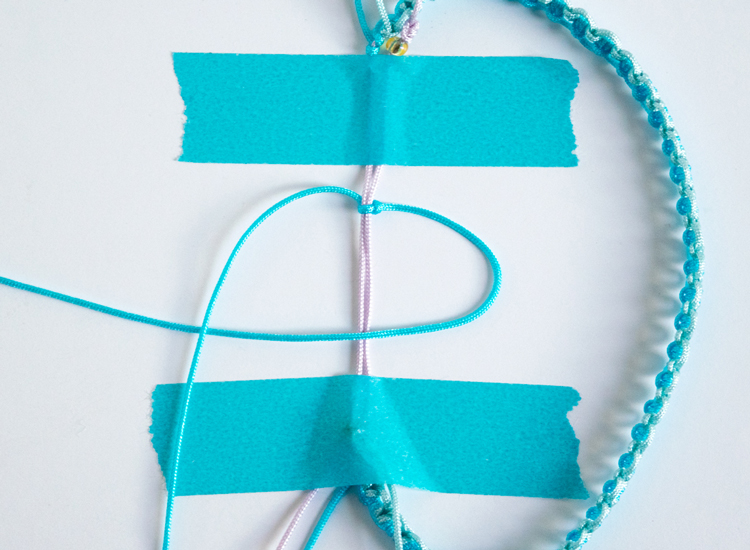
- Adding the second cord
Repeat the last step with your other 40-inch cord but from the other side, just below the knot you just made. Slide this knot up so it’s flush with the first one, and pull it tight.
You’ve just made two lark’s head knots. Now I’m going to show you how to make more. - How to tie a lark’s head knot
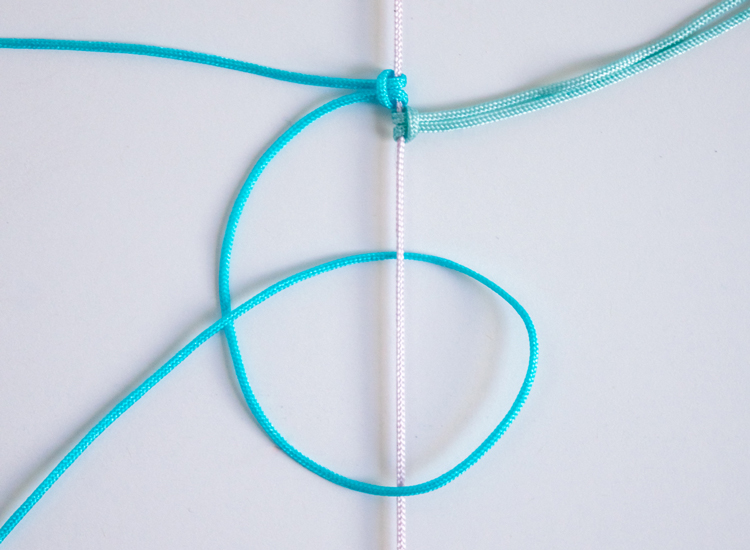
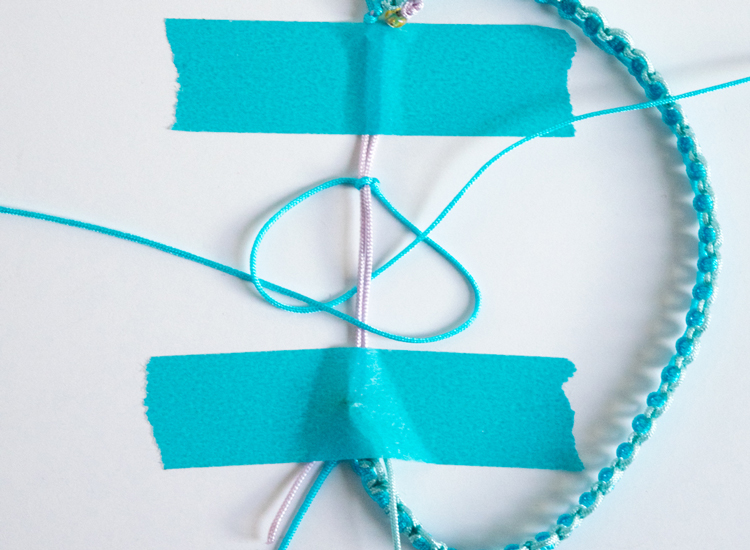
There are two steps to the lark’s head knot:
Step 1: Loop the left cord over the core cord, then pull the end under the core cord and back through that loop. Pull it flush to the knot above it. - Lark’s head step 2
Step 2: Now loop the left cord under the core cord, then pull the end over the core cord and back through the loop. Pull it snug. You should have a knot that looks like the two right above it.
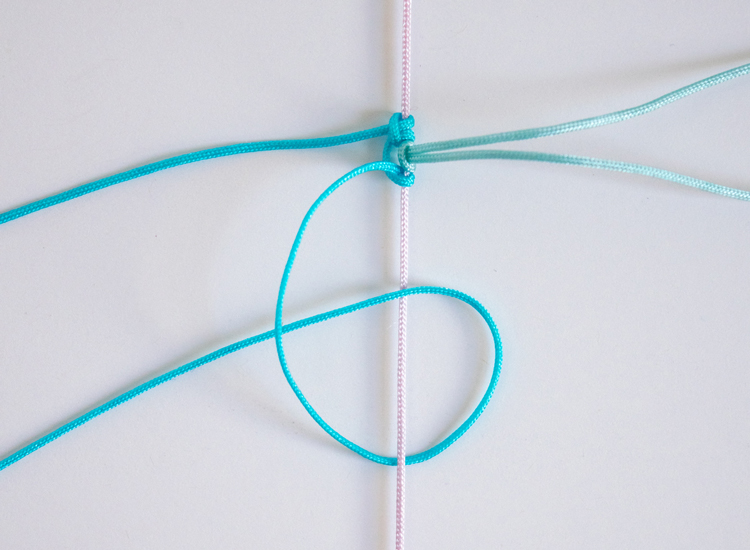
- Lark’s head second side
Repeat these two steps with the cord on the right:
Loop the right cord over the core cord, pull the end under the core cord, and back through the loop. - Lark’s head second side, step 2
Then loop the cord under the core cord, pull the end over the core cord, and back through that loop.
- Continue tying knots
Keep making your knots, alternating sides, until your knotted section measures six inches.
- Add a second bead
After you finish all of your lark’s head knots, slide another bead onto the core cord, below all of your knots. Then tie another surgeon’s knot about two inches down from the end of your lark’s head knots.
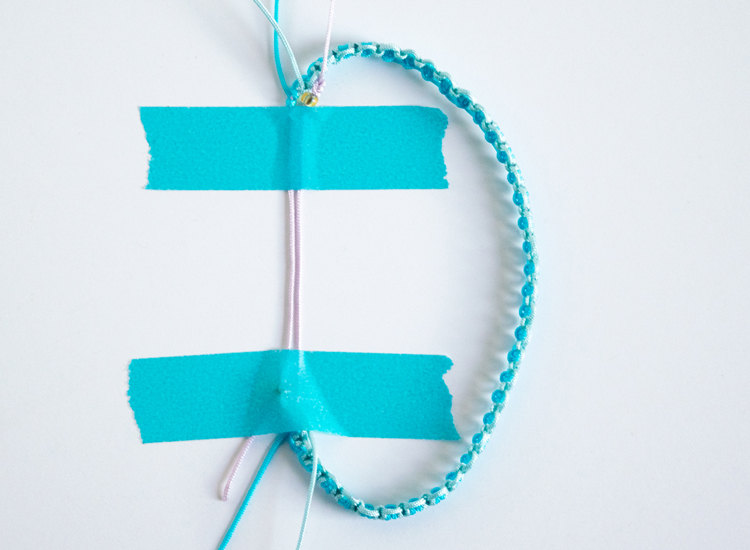
- Starting the clasp
It’s time to make the clasp! Tape your bracelet onto your board or another surface, with the two ends overlapping. Make sure the beads are pushed all the way to the ends flush with your surgeon’s knots.
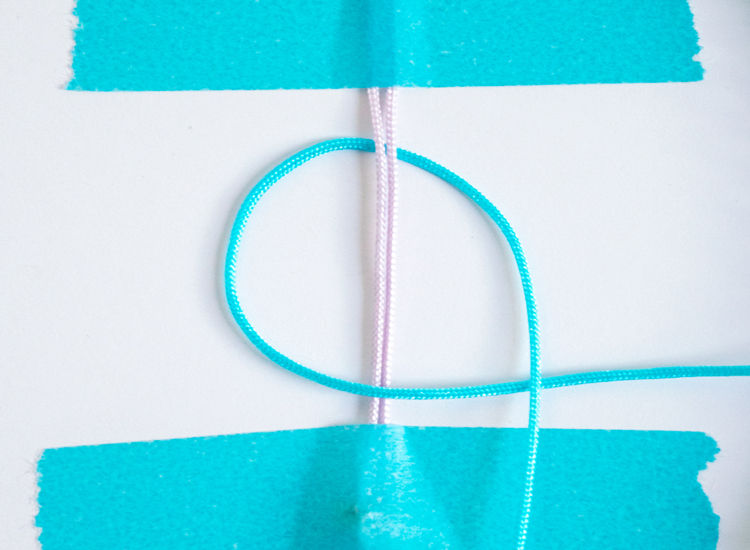
- Tying the clasp: square knots
Find the mid-point of the 12-inch piece of cord and place it behind the overlapped cords. Cross the left cord over the two middle cords and under the right cord, making a backward P.
- Continuing your square knot
Slide the right cord around the left cord, under the middle cords, and through the center of the backward P made by the left cord. Pull it snug.
You’ve made a half square knot! - Tying a square knot: second side
For the second side: cross the right cord over the two middle cords and under the left cord, making a normal P.
- Continuing your square knot
Slide the left cord around the right cord, under the middle cords, and through the center of the P made by the right side. Pull it snug. Now you’ve made a full square knot. Make four or five more square knots, so that your clasp measures a little less than half an inch (1 cm).
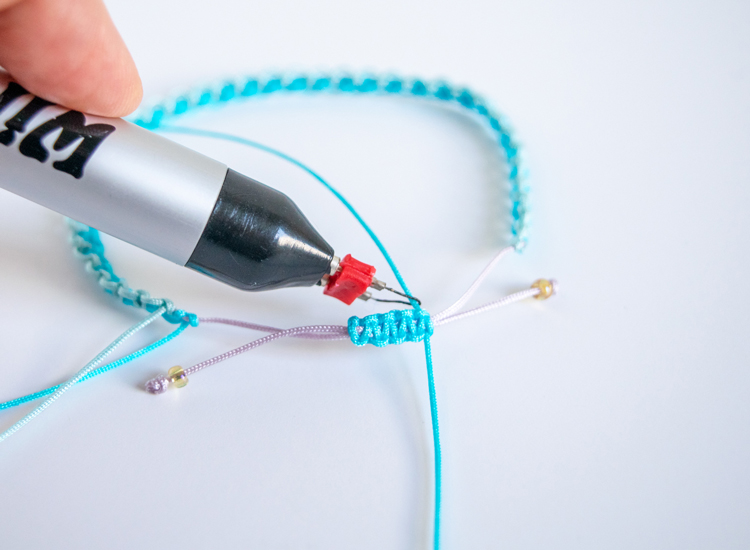
- Trim all of the ends
Trim all of the cords with a cord cutter, or with scissors. (Carefully melt the ends with a lighter if you use scissors.)
*Be sure that the lark’s head knots at the beginning and end are nice and tight before you trim and seal those ends. Also, they will hold better if you can melt them a bit to the surrounding cord.


I hope you enjoy your bracelet! If you want more help with the lark’s head and the square knots, be sure to get my Macrame Knots cheat sheet with the link below.
Learn to tie the essential macrame knots for jewelry and home decor.
Please pin this if you like it! And don’t forget to sign up for my email list :).