
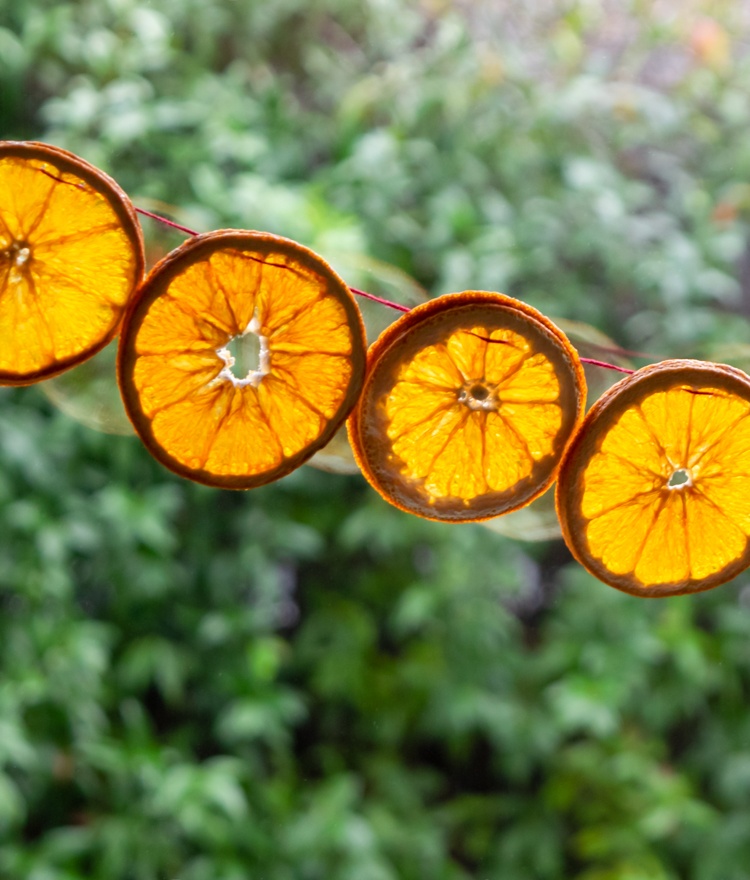
Sometimes the simplest form is the best. Dried orange slices are nature’s little stained glass windows. When you have something so beautiful, why gild the lily? This simple dried orange garland is a quick craft for a cold, dark, wintery afternoon or evening, and an easy homemade Christmas decoration.
My dear friend gave two bags of these beauties last spring, and not having a clue what to do with them, I tucked them away in a cabinet. Then when another friend put out a plea for dried orange slices for a different project, out they came.
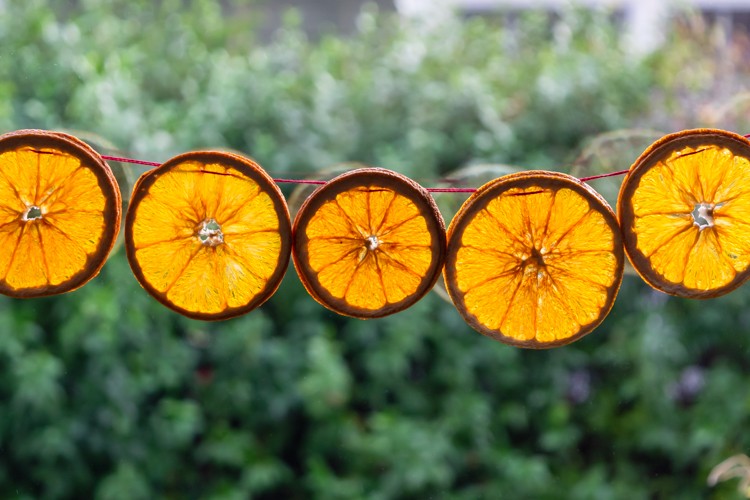
They are just so dang gorgeous, I really wanted to do something with them for the holidays since I’m in such a decorating mood right now. I poked around Pinterest and a lot of people add them to wreaths or garlands with greens and other stuff. To me, all the other stuff detracted from them. For me, they are best on their own — little stained glass windows, reminding us of the warmth of the summer sun.
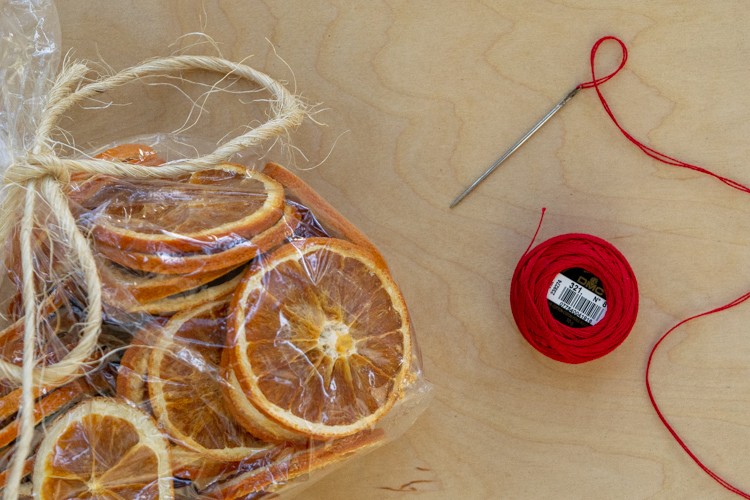
Supplies
- Dried orange slices (Amount will vary depending on how long you want your finished garland to be — I used 20. You could easily make these… I’d love to know if anyone has a good how-to for this!)
- Red Pearl Cotton No. 8 (or whatever color strikes your fancy)
- Large-eyed sharp needle
- 3M mini Command hooks (optional)
Time needed: 30 minutes
Dried Orange Garland Instructions
- Cut the string
Cut a length of the pearl cotton string twice the length of your finished garland. (If you are using a thicker string, you could just use a single thickness.)
- Thread the needle
Thread the needle with the string and pull the ends even. Tie a knot, leaving about a one-inch loop so you can hang it.
- Add an orange slice to your garland
Poke your needle through the orange slice, from back to front, about 1/4 inch down from the top of the slice, and about a quarter of an inch (or a half a centimeter) off-center. Poke your needle back through your orange slice, leaving about half an inch or a centimeter space between your holes. I tried to make my holes into two different orange segments so that you have that little bit of pith to give it something to hold it.
You want to more or less balance your holes to either side of the center, but there’s no reason to be fussy about it. - Add more slices
Gently slide your first slice down the thread a bit, and continue adding slices in the same way. They seem to want to stick a little bit, especially if the weather is humid, so go easy. Their stickiness actually keeps them from sliding around which is nice.
- Make it yours
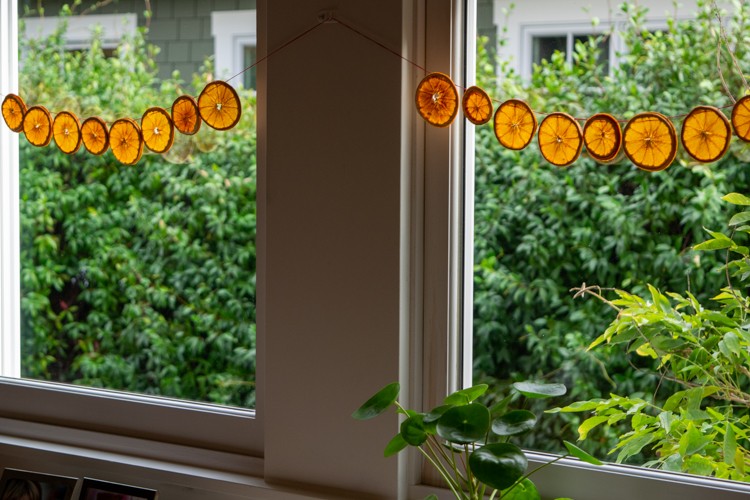
This is where you get to customize your garland to your window and your taste. How many slices? How close together? I like them butted up against each other, and with the oranges just in front of the glass and not the trim, but you do you, natch!
I found it worked really well to hold it up in front of the windows from time to time to measure and adjust. - Tie off the end
When you’ve added as many slices as you want, tie another loop in the end. Make sure you measure so that your string is as long as you need it in order to hang it!
- Hang your garland!
I used those 3M Command hooks so I didn’t have to put holes in the window trim, but you could use clear push pins or thumbtacks.
And that’s it! Super easy but it looks so pretty. I might add a little something like a swag of greens right at the midpoint on mine — it’s looking a little sad and empty there.
Please pin this post if you like it, and please join my email list!
Check out my post on How To Make Beautiful Paper Lanterns for more DIY holiday decorations!