
Wild Plum Jam
Jam made from sour wild or ornamental plums
Equipment
- Canning pot or large stockpot
- 5–6 8 oz. glass canning jars, and lids and bands
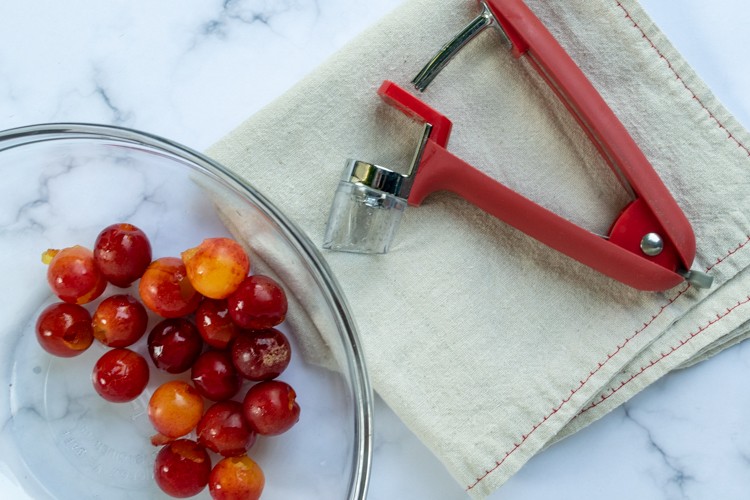
- cherry pitter
Ingredients
- 3 1/2 lbs wild/ornamental plums (a little underripe or ripe) about 5 cups diced
- 3 cups sugar
Instructions
Prepping the Fruit & Canning Supplies
- Wash and pit the plums. I find a cherry pitter works well for this, since the plums are about the same size as cherries. A lot of pulp gets left on the pits, so I push them through a mesh strainer to get as much of that as I can.
- Cut the fruit in halves or quarters. You can measure the volume of plums you have at this point. It should be about 5 cups or so.
- In a large heavy-bottomed pot, mix the plums with the sugar. Let stand for 15 minutes. They will become very juicy.
- Put a small plate or saucer in the freezer to use for the jell test later.
- If you are canning your jam (instead of freezing it), sterilize your clean jars, lids, and bands in boiling water for 10 minutes. You want your jars, etc. to still be hot when you ladle the jam into them, so if they are ready before the jam, just leave them in the hot water.
Cooking the Fruit & Gel Testing
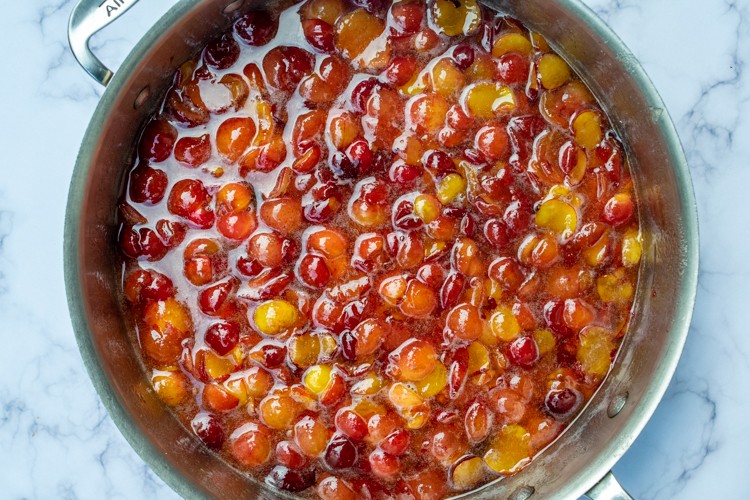
- Bring the pot of fruit and sugar to a boil over high heat, then reduce the heat to keep it at a low boil. Stir the fruit frequently so it doesn't stick to the bottom.
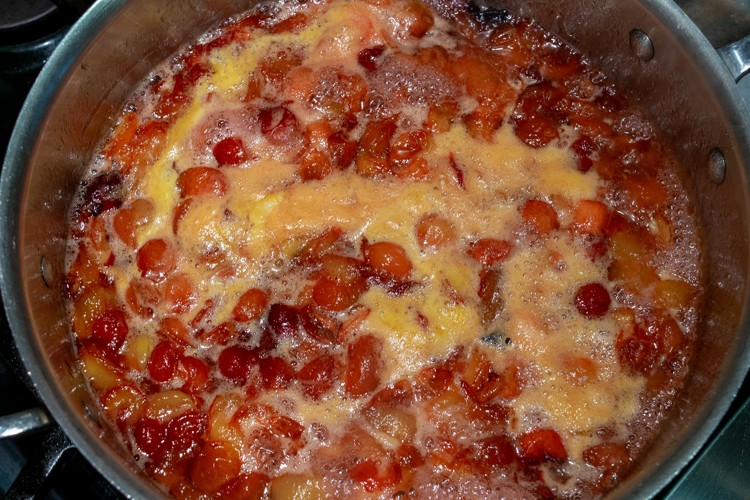
- As the fruit boils, foam will form on the top. Sometimes a lot, sometimes not so much. Use a large spoon to skim off as much of the foam as you can. The foam is mostly air, and if you don't remove it you increase the chance of your jam spoiling in the jar. Also, it looks gross.
- After the froth has subsided, I use a potato masher to break up the skins more and squish any air trapped in them out as well. You could use a wooden spoon for this too. I usually find a stray pit or two in the pot at this point. Be sure to fish those out!
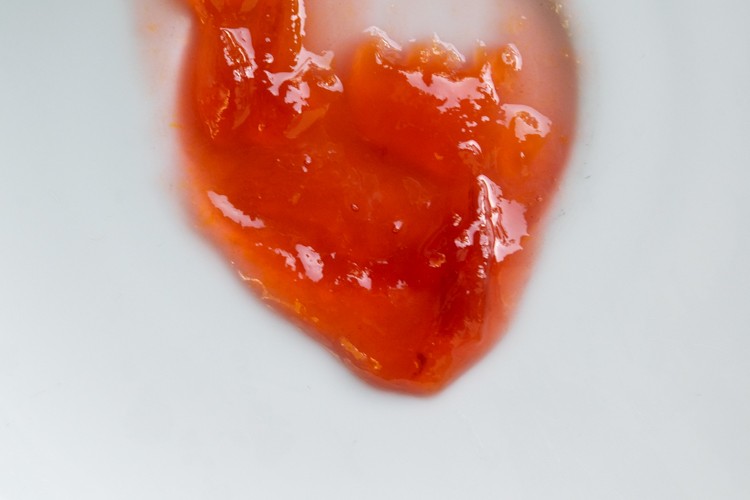
- You can tell when the jam is starting to gel because it gets this kind of tar pit bubbling as it starts to thicken. That’s when you know it’s time to do a gel test: put a teaspoon of jam on the plate you put in the freezer, put the plate back in the freezer for 2 minutes, then take it out and tilt it. If the jam runs in drips, it’s not ready yet. If it runs in more of a sheet or a mass, it’s ready. You can see in the photo how the jam also has kind of a skin on it, and the surface is wrinkling a bit. These are also signs that it’s ready.
Canning the Jam
- Ladle your jam into sterilized jars, leaving a 1/8–1/4 inch space at the top. Seal the jars with lids and finger tighten the bands.
- Fill a large pot about half to two-thirds full of water, place a rack in the bottom, and bring to a boil. (You can use a canning pot for this or just a large stockpot.)
- Add your jars to the hot bath and make sure that the water covers the lids by at least one inch. Bring the water back to a boil and boil the jars for 10 minutes. Remove the jars from the bath and let cool.
- Make sure that all of your jars have sealed properly, and tighten any bands that need it.